Here's my set up. I just recently got a nice magnifying glass that clamps on my frame as well as a magnifier bar. Still, as much as I liked using the clamp, I need to shake things up a bit. I wanted to share with you a detailed description of how I did it...just so I can possible help those who feel challenged about doing stuff like this. :)
The stitching world is not that big... every little tip helps.
Here are my materials:
 |
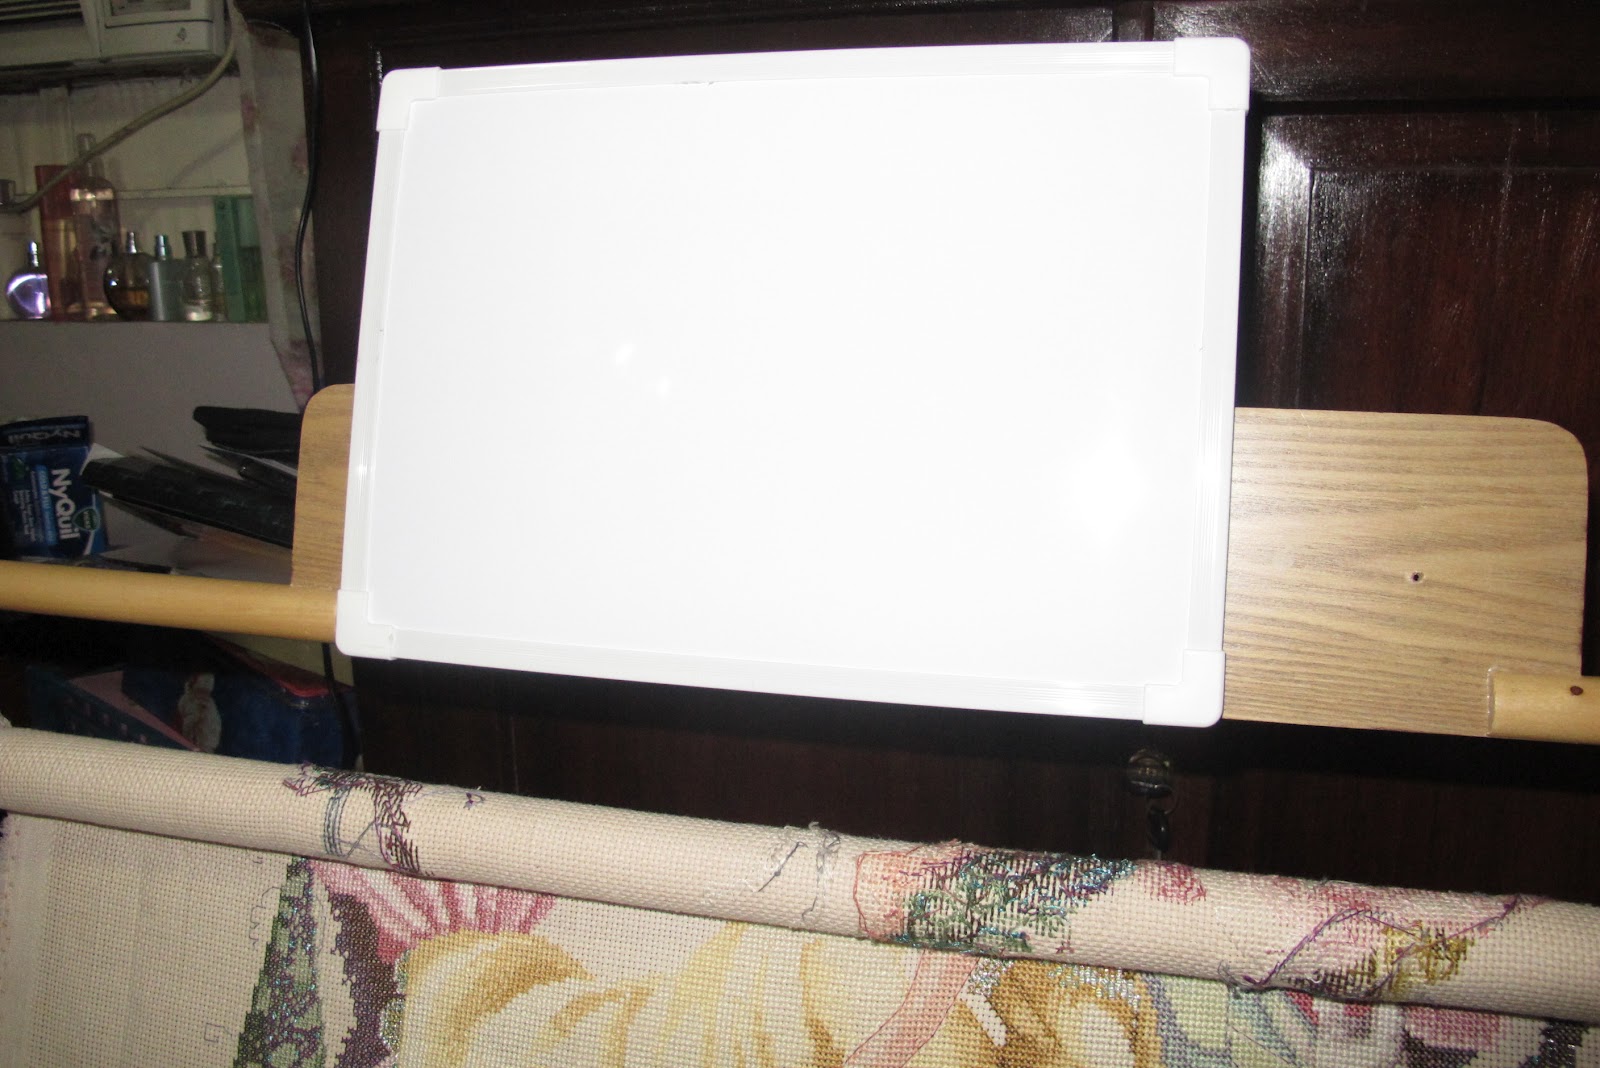
| A white board (that magnets are attracted to. There must be tin/metal core in it). |
 |
| Lots of little round magnets from the local 2 cent store (here, we call them DAISO or JAPAN HOME STORES). |
 |
| Double Sided Tape. (I prefer 3D...they're more sturdy). |
 |
| Super Glue. Might Bond or Epoxy would work as well. |
THE START OF TRANSFORMATION.
 |
| Took off all the patterns and clips. |
 |
| The Sponge pin cushion is screwed into the board. Time to unscrew the sucker. |
 |
| The back of the whiteboard had magnets at the corners. They're weak, so off they go. |
 |
| Turns out the magnets came with this little round tin things. Hmm... I'll make use of them. |
 |
| Decided to double-sided tape the round things onto the board. This way, if I don't like to use the whiteboard anymore, I can just pull it off. |
 |
| Stuck magnets to the back that will 'stick' to the tin round things stuck on my wooden board. |
 |
| TA-DA!! Instantly extends my board. :) |
 |
| This is what it looks like on the back. |
 |
| I had a pincushion with a wooden base that I double-sided taped to the edge of the board. I moved it 3/4 off the board to create more space. See...it extends to the side. |
 |
| Close up of my pincushion that I used to extend my board. |
 |
| Side view of my magnifier bar. |
 |
See? It works. Makes tiny letters bigger. Now how to stick it on my board without it falling off?
Magnets!!! I stuck tiny magnets underneath...all around the edges. |
Special thanks to Michelle Almendras who gave me the inspiration to do this. :) I modified things but the original tip about magnets came from you. :) THANKS!!!
Hope this helps some of you! :D


2 comments:
Good going, My Darling Panda-girl :)
Wonderful. I will be coming back here!
Post a Comment